
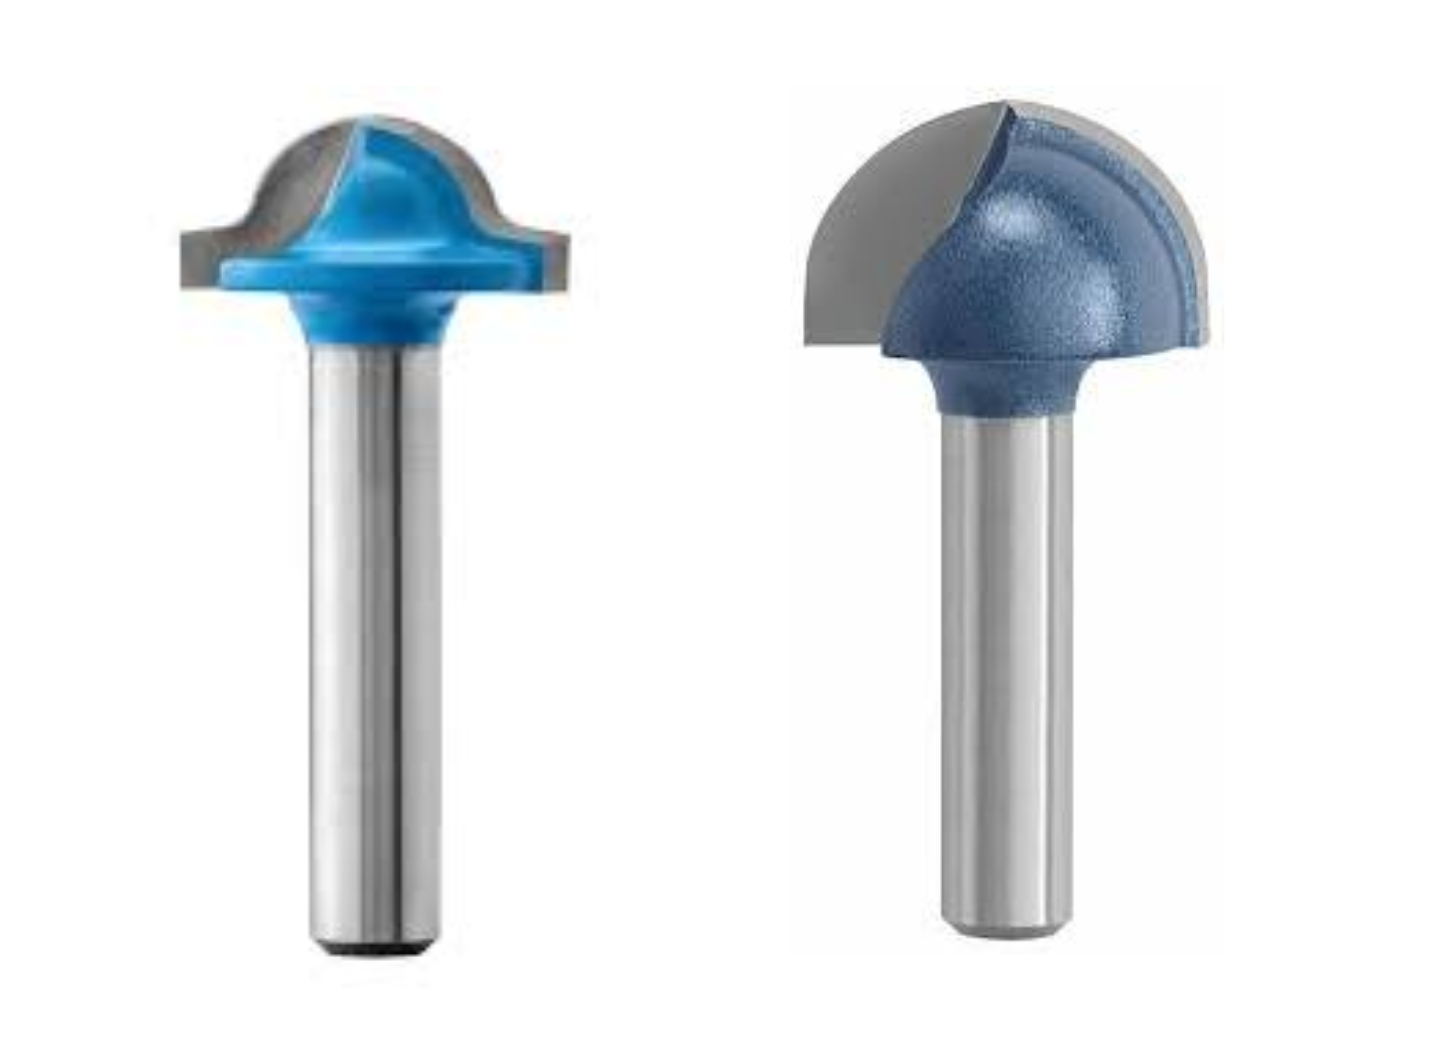
If you want to start making cutting boards, one of the techniques you’re going to want to learn is cutting the juice groove. The just groove is the shallow indent that goes around the entire exterior of the cutting board that catches any juice coming from the food being cut. The first thing you’re going to want to learn is the difference between a juice groove router bit and a core box bit. Then you’re going to want to build a simple juice groove jig to make routing that groove quick and easy.
These simple juice groove jig plans are extremely simple, and don’t take a lot of time or special tools to build. They are made from eight boards, and the dimensions can easily be changed to accommodate larger cutting boards. You can also change the width of the base strips to alter how far inset your juice groove gets cut. That base dimension really depends on the size of your router base plate.
Materials Needed
- 4 – 3/4″ plywood at 24″ x 2″
- 4 – 3/4″ plywood at 25 1/4″ x 2″
- 4 – threaded knobs (1/4″-20)
- 4 – threaded inserts (1/4″-20)
- 2″ wood screws
- wood glue
Tools Needed
- Table saw
- Router and 1/4″ straight bit
- Tape measure
- Drill / Driver with countersink bit
- 13/64″ drill bit
- Square
Step 1: Cut the base and rail boards
Start your simple juice groove jig by cutting four strips of 3/4″ plywood to 24″ long by 2″ wide for the bases. Then cut another four strips to be 25 1/4″ long by 2″ wide for the rails. This 1 1/4″ difference will allow the tail of the rail to hangover and butt up against the perpendicular fence.
Step 2: Cut the slot in the rail
Now, you’re going to take the four rail boards (at 25 1/4″ long) and you are going to need to cut a 1/4″ slot down the middle. The slot should be centered on the board and start 1″ in from one end and extend for 19″. I prefer to use a router with a straight bit for these slots, but there are other ways you can cut them.
You’re also need to drill a 13/64″ hole, lined up with the slot, on the opposite end of where the slot started. Then screw the threaded inserts into these holes.
Step 3: Assemble the boards
Now, with all of the pieces prepared, use wood glue and the 2″ wood screws to attach the rails to the bases aligning the outer edges and with the threaded inserts on the side overhanging the base. Remember to countersink your screws so the bases can sit flat on your workbench.

The last thing you need to do is assemble your new simple juice groove jig. Each fence should be exactly the same, and the threaded knobs should fit through the slots into the threaded inserts. When you losses the knobs you should be able to resize the jig around your cutting board. Then tighten the knobs back down and you have a fence to guide your router.
I hope you enjoy these plans and find them useful. Please check out our other jig and workshop plans. If you have any questions, leave us a comment below. And don’t forget to submit your build if you use these or any of our plans to build something of your own.
* This post may have affiliate links, which means I may receive commissions if you choose to purchase through links I provide (at no extra cost to you). As an Amazon Associate I earn from qualifying purchases. Thank you for supporting the work I put into this site.
Discover more from Famous Artisan
Subscribe to get the latest posts sent to your email.